
Losing a tooth can feel like a scene straight out of a horror movie, but fear not—there’s a way to restore that smile without breaking the bank. Enter the dental flipper, your new best friend in the world of temporary tooth replacements. It’s like a superhero for your mouth, swooping in to save the day while you wait for that fancy permanent solution.
Understanding Dental Flippers
Dental flippers offer a temporary yet effective solution for those missing teeth. These removable appliances fill gaps in smiles, providing cosmetic enhancement until a more permanent fix.
What Is a Dental Flipper?
A dental flipper is a removable prosthetic tooth or teeth. It consists of an acrylic base, which sits against the gums, and one or more artificial teeth mounted on it. Patients typically use dental flippers after tooth extraction or for short-term tooth replacement. Dentists design these appliances for easy insertion and removal. Individuals can use them to maintain functionality while waiting for implants or bridges.
Benefits of Using a Dental Flipper
Dental flippers offer several advantages for users. They improve aesthetics by filling gaps and restoring smiles. Comfort levels often increase when patients can eat and speak normally again. Affordability stands out as dental flippers cost significantly less than permanent solutions. Adjustability allows dentists to modify the flipper for comfort and fit. Patients receive an immediate cosmetic upgrade without extensive procedures. These benefits make dental flippers a popular choice for temporary tooth replacement.
Materials Needed

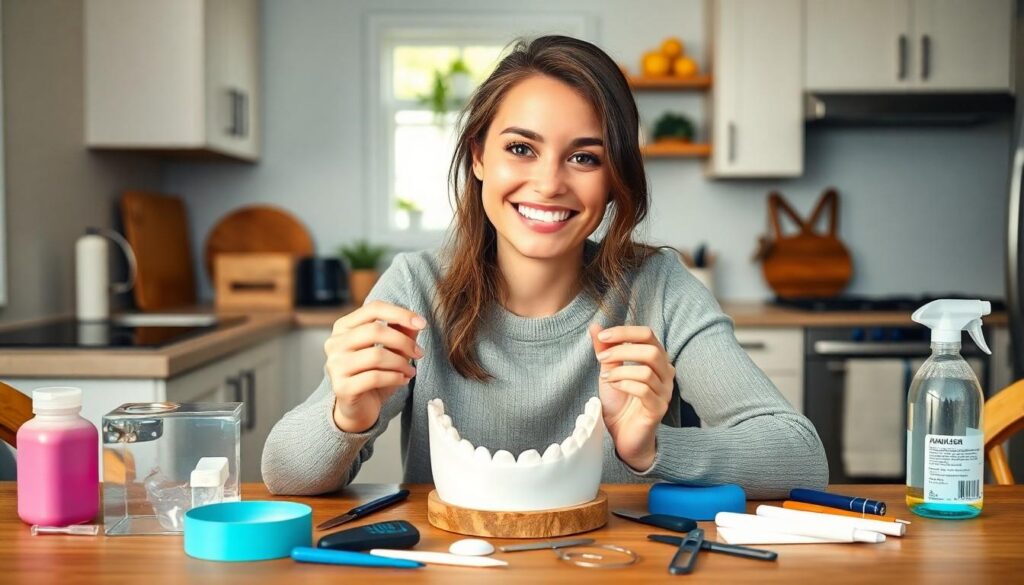
Creating a dental flipper at home requires specific tools and materials to ensure a successful outcome. Below are the essential tools and recommended materials for this DIY project.
Essential Tools
- Heat gun or hot water for softening acrylic.
- Small mixing bowl for combining materials.
- Dental tools like tweezers and spatulas for shaping.
- Scissors for cutting acrylic to size.
- Sandpaper for smoothing edges.
Recommended Materials
- Acrylic resin for the base of the flipper.
- Dental wax for creating a mold of the existing teeth.
- Mouthguard material to ensure a comfortable fit.
- Shade guide to match the color of natural teeth.
- Cleaning solution to maintain hygiene after usage.
Gathering these items facilitates the process of making a dental flipper at home. Each tool and material plays a crucial role in achieving a functional and aesthetic solution for tooth replacement.
Step-by-Step Guide
This guide outlines the process of making a dental flipper at home. Follow these steps for a successful DIY project.
Preparing the Mold
Start by softening dental wax. A heat gun or hot water effectively softens the wax to make it easier to shape. Next, place the softened wax on the area where the flipper will sit. Press it firmly against the gums to create an accurate mold of the existing teeth. Remove the mold after a few minutes, ensuring it holds its shape. It’s essential to check for any air bubbles or imperfections at this stage.
Creating the Flipper
Use acrylic resin to form the flipper base. Mix the resin according to the package instructions for the best results. Pour the mixture carefully into the mold, filling it evenly. Once filled, allow the resin to set for the duration specified by the manufacturer. After curing, gently remove the flipper from the mold. It’s important to test the fit in the mouth for comfort and stability.
Finishing Touches
Smoothing the edges is crucial for comfort. Sandpaper helps refine sharp areas on the flipper. Next, match the flipper color with a shade guide for a natural appearance. Cleaning the flipper with a suitable solution ensures hygiene before use. After final adjustments, the flipper should fit snugly and securely in the mouth, ready for wear.
Tips for Success
Creating a dental flipper at home can yield effective results when following a few practical tips. Paying attention to detail during each step enhances the quality of the final product.
Common Mistakes to Avoid
Incorrectly measuring acrylic resin often leads to poor results. Remember to mix the resin according to the manufacturer’s instructions for optimal curing. Not allowing sufficient time for the resin to set also compromises the flipper’s durability. Rushing the fitting process may create discomfort, so test the fit gradually. Neglecting cleaning procedures can result in hygiene issues; maintaining cleanliness is crucial for oral health.
Maintenance and Care
Cleaning the dental flipper consistently prevents bacterial buildup. Use a soft-bristle toothbrush and mild soap or a non-abrasive cleaner to maintain its condition. Soaking the flipper in a denture cleaning solution removes stubborn stains and odors. Storing the flipper in a protective case when not in use further protects its integrity. Regularly inspecting it for wear or damage ensures longevity and functionality.
Creating a dental flipper at home can be a straightforward and rewarding project. With the right materials and tools anyone can achieve a functional and aesthetically pleasing solution for a lost tooth. Following the outlined steps ensures a comfortable fit while enhancing confidence in one’s smile.
Proper care and maintenance are essential for longevity and hygiene. By taking the time to clean and store the flipper correctly it can serve its purpose effectively until a more permanent dental option is available. This DIY approach not only saves money but also empowers individuals to take control of their dental aesthetics.